
Home Assistant Setup: A Beginner's Walkthrough for 2026
Home Assistant is the free, local-first way to run a smart home. A plain-English walkthrough of the hardware, the install, and your first devices.

Researched with AI assistance, reviewed and edited by Tapabrata Biswas.
In this article
Most smart-home gear works fine until the company behind it changes its mind. An app gets worse, a subscription appears, or a server goes dark and a $200 gadget turns into a paperweight. Home Assistant is the usual answer to that problem, and getting it running is far less intimidating than its reputation suggests.
The whole job takes about twenty minutes of real work, most of it spent waiting for a download to finish. You don't need to write code, and you don't need a server humming in a closet. One small computer, a web browser, and a short setup wizard are enough to get started.
What Home Assistant is
Home Assistant is a free, open-source home-automation platform, maintained by the non-profit Open Home Foundation, that runs on a small computer in your home and controls your devices locally instead of routing every command through a manufacturer's cloud. Ownership moved to the foundation in 2024 specifically to keep it free and focused on privacy.
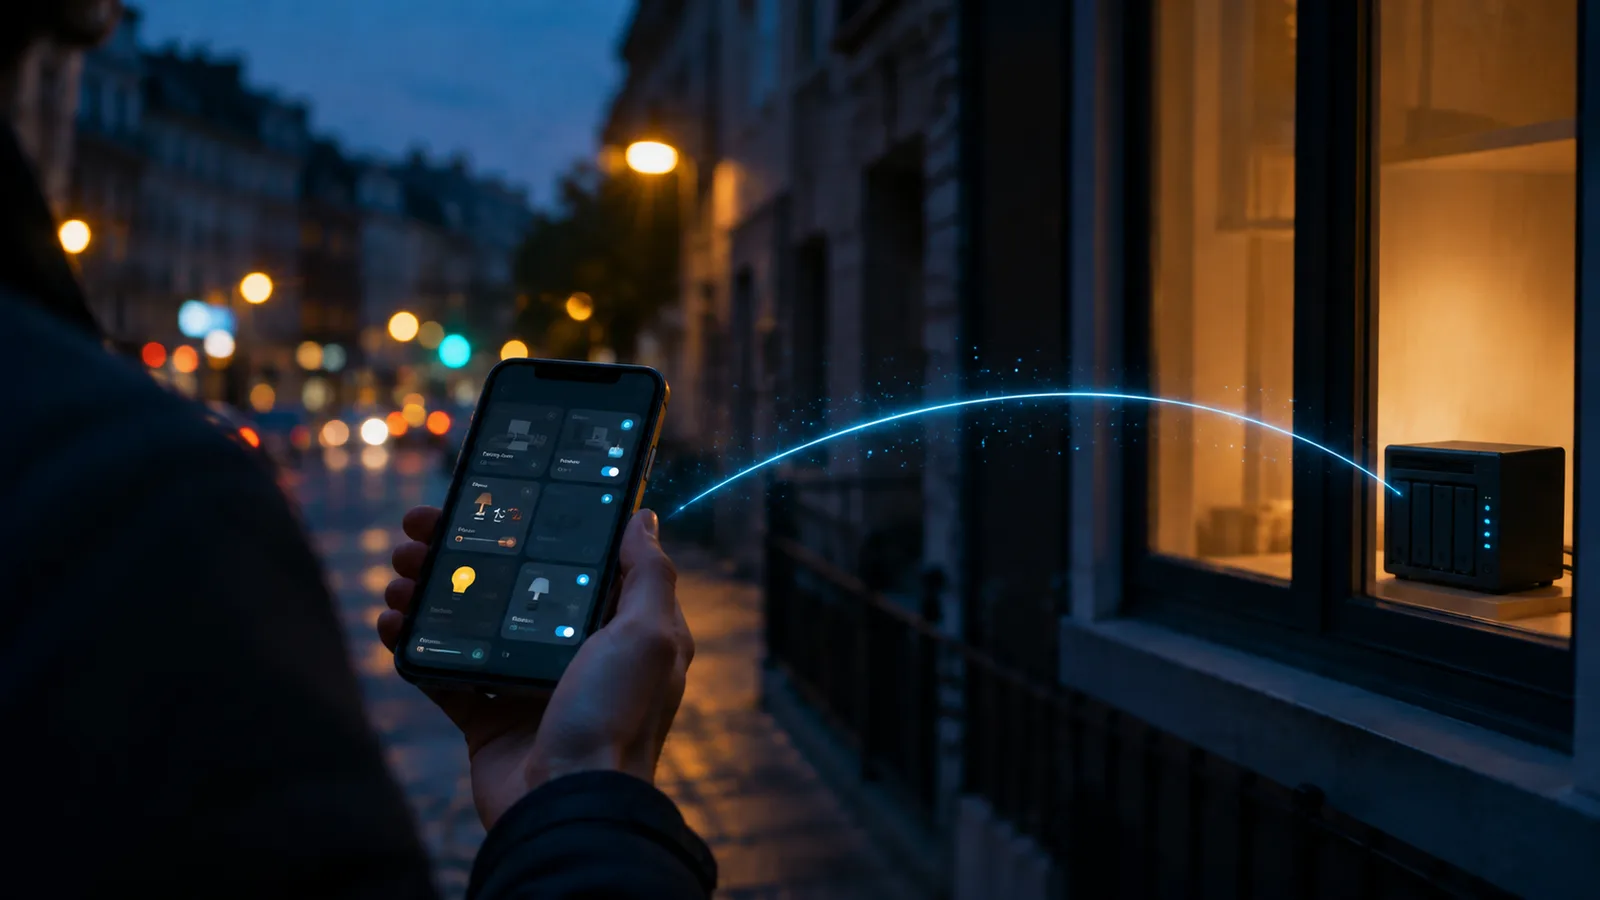
Local control is the whole appeal. When the logic lives in your house, your lights still respond when your internet drops, your motion data doesn't take a trip through someone's servers, and no company can switch off a feature you rely on. It's also where Home Assistant meets the standards we've covered before. It speaks Matter, talks to Zigbee devices, and can act as a Thread border router, so it sits comfortably in the middle of how Zigbee and Matter divide the work. Breadth is part of the draw too: the project now lists over 2,800 integrations, so most gear you already own has a way in.
One honest caveat, since this guide sits in a cluster that keeps recommending Home Assistant. It is the most capable option here and the most demanding. If you want a smart home that works without you maintaining it, a Matter hub built for beginners asks far less of you. Home Assistant rewards people who enjoy the tinkering, and quietly punishes people who don't.
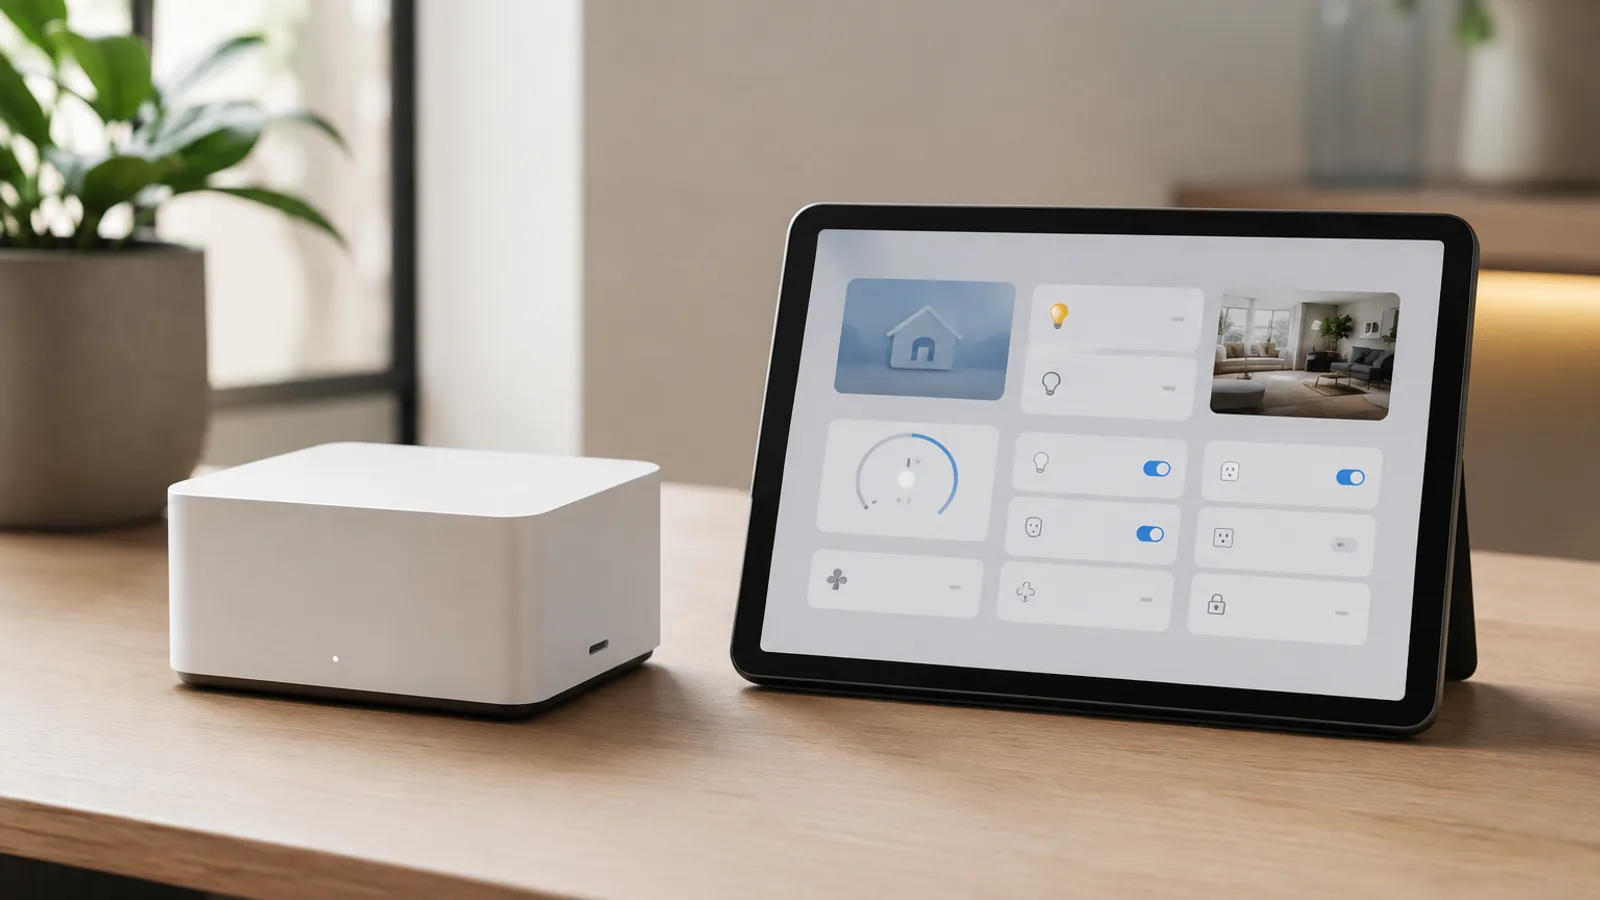
Day to day, it gives you one dashboard for every device, automations that fire on a schedule or a sensor, and an optional voice assistant you can power with AI. A typical first automation is something small but genuinely useful, like a hallway light that comes on at ten percent brightness when a motion sensor trips after midnight, then fades off two minutes later. A rule like that runs entirely on your own hardware, with no cloud round-trip and no monthly fee. The trade is a little setup that a closed system like Apple Home hides from you. The payoff is a smart home you actually own.
What you need before you start
You need one piece of hardware to run Home Assistant on, and the choice comes down to how much setup you want to do yourself. The software is identical either way. What changes is whether it arrives pre-installed or you flash it on.
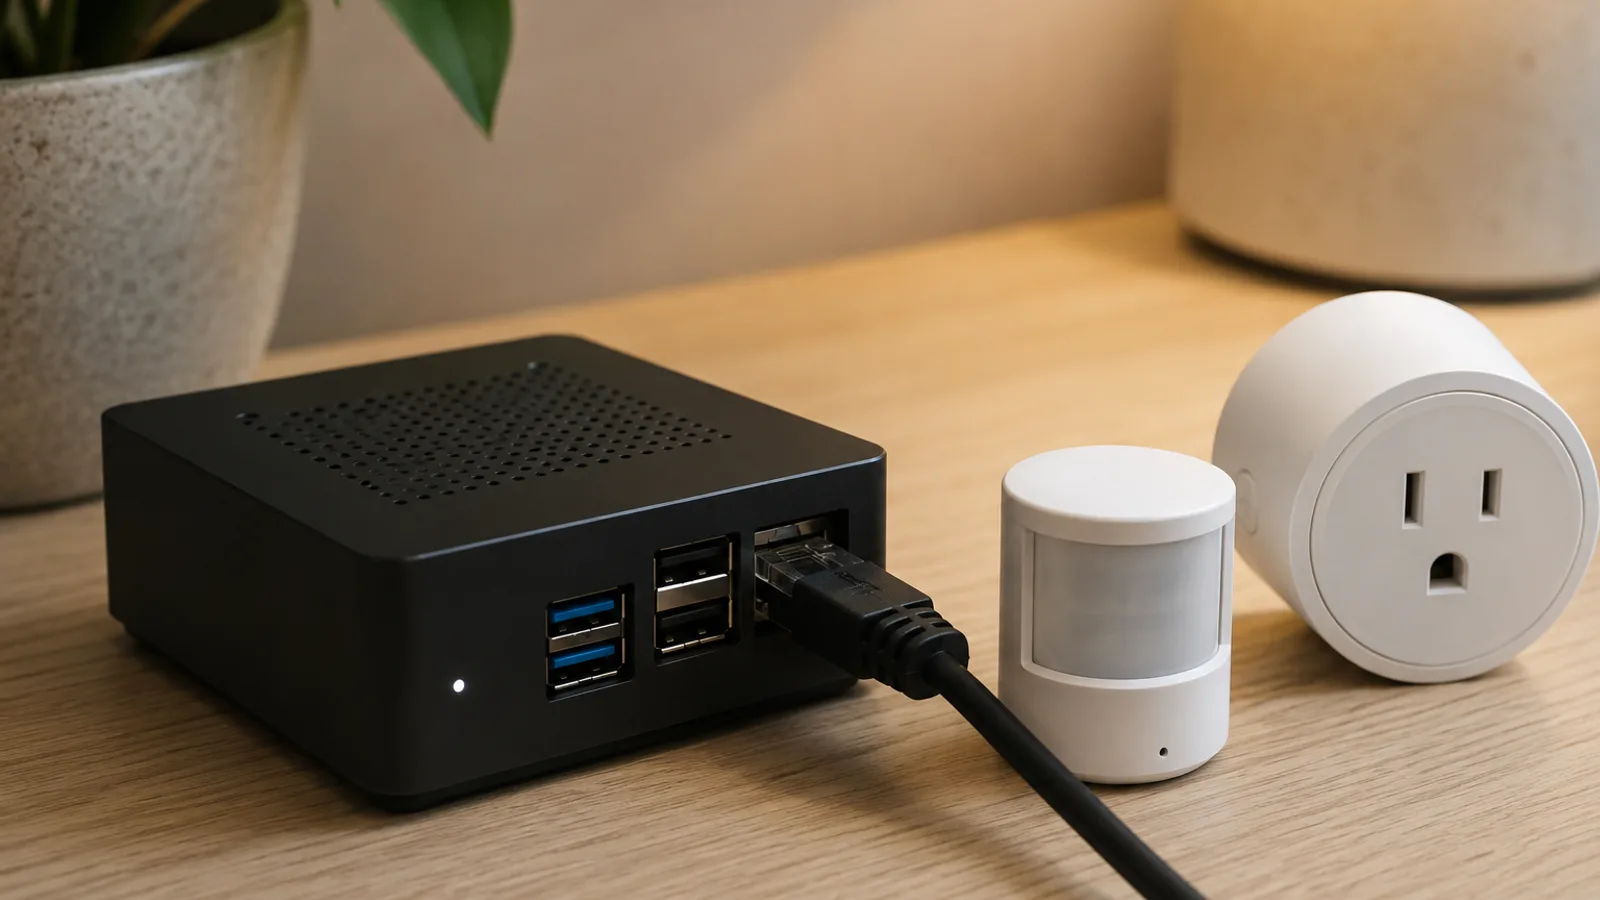
$199 buys the no-thinking option. Home Assistant Green ships from Nabu Casa with the software already on it, so you connect power and Ethernet and you're essentially done. A Raspberry Pi 5 costs less for the board itself but expects you to add storage, a power supply, and about ten minutes of flashing.
The Green's price is worth understanding before you shop, because plenty of guides still quote the old one. It launched in late 2023 at $99 and now lists at $199 (or 179 euros) on Home Assistant's own site. Nabu Casa explained the rise on January 8, 2026: component costs, RAM in particular, had nearly doubled since the device went on sale, and it raised the price again in an April 24 update to the same post. Their own advice was blunt, that prices would stay volatile through the year. So if you see Green listed at $99 anywhere, you're reading something written before January 2026, and the same goes for any guide quoting that figure today.
| Option | Setup effort | Rough cost (2026) | Best for |
|---|---|---|---|
| Home Assistant Green | Plug in and go, software pre-installed | $199 / 179 euros | Beginners who want zero fuss |
| Raspberry Pi 4 or 5 | Flash the OS yourself, about 10 minutes | Board near $80, plus storage and power | Tinkerers, or anyone who owns a Pi |
| Home Assistant Yellow | Some assembly, built-in Zigbee and Thread radio | Varies by configuration | A Zigbee-heavy setup from day one |
Home Assistant's official requirement for the Pi route is a Raspberry Pi 4 or 5 with at least 2 GB of RAM, a microSD card, and an Ethernet connection. A 4 GB board gives you more headroom if you plan to add a lot of integrations.
If you'd rather not run a general-purpose box at all, a Matter hub built for beginners covers the basics with less effort, though it trades away the depth Home Assistant gives you. For everyone else, the Green is the shortest path and the Pi is the cheaper one.
Step 1: Get Home Assistant onto the hardware
Getting Home Assistant onto your device means one of two things: nothing at all, or about ten minutes with a free tool. If you bought a Green, skip ahead, because the software is already there. For a Raspberry Pi, you install Home Assistant Operating System, the dedicated all-in-one system the project recommends for newcomers.
The tool for the job is Raspberry Pi Imager, a free download from raspberrypi.com. You pick your Pi model, choose Home Assistant from the "other specific-purpose OS" menu, select your SD card or SSD, and let it write. An SSD over USB is worth the small extra cost here, because cheap SD cards are the single most common reason a Home Assistant box turns flaky months later.
Once the image is written, slot the storage into the Pi, connect Ethernet, and power it on. The first boot runs for a few minutes while the system sets itself up, so this is a good moment to walk away and make coffee.
Step 2: First boot and onboarding
The first time Home Assistant starts, it hosts a setup page you reach from any browser on the same network at http://homeassistant.local:8123. If that address doesn't load, the device's IP from your router works just as well, something like http://192.168.1.50:8123.
Expect a wait on that first load. Home Assistant downloads its latest version, around 700 MB, before the wizard appears, which is most of the twenty minutes and the reason the screen can look stuck when it isn't.
Onboarding runs in five steps: create your account (or restore from a backup, if you're rebuilding), set your location, choose what analytics to share, and finish. The account is local, living on your box and nowhere else. Two details from the official docs are worth following exactly. The username has to be lowercase with no spaces, and there is no recovery path: Home Assistant's documentation says plainly that the owner credentials cannot be recovered. Write them down before you go further, because a forgotten password here means reinstalling from scratch.
Your location does more than set a map pin. It configures your time zone, unit system, and currency, and creates a default home zone of 100 metres, which is what later lets automations know whether you're home. The analytics step is opt-in and off by default; sharing is genuinely optional and the project asks rather than assumes.
When the wizard finishes, you land on the Home dashboard, which replaced the older Overview as the default in Home Assistant 2026.2. It won't be blank: a For You section lists devices Home Assistant has already spotted on your network, and it nudges you to sort them into areas. It fills out properly as you add things, and our guide to the Home Assistant dashboard covers what to do with it, including the one edit that can't be undone.
Step 3: Add your first devices
Adding devices starts with a list Home Assistant has already built for you. During onboarding it quietly scans your network and surfaces things it recognizes, like a Philips Hue bridge, a Chromecast, a Sonos speaker, or a network printer. Each one becomes a one-click integration.
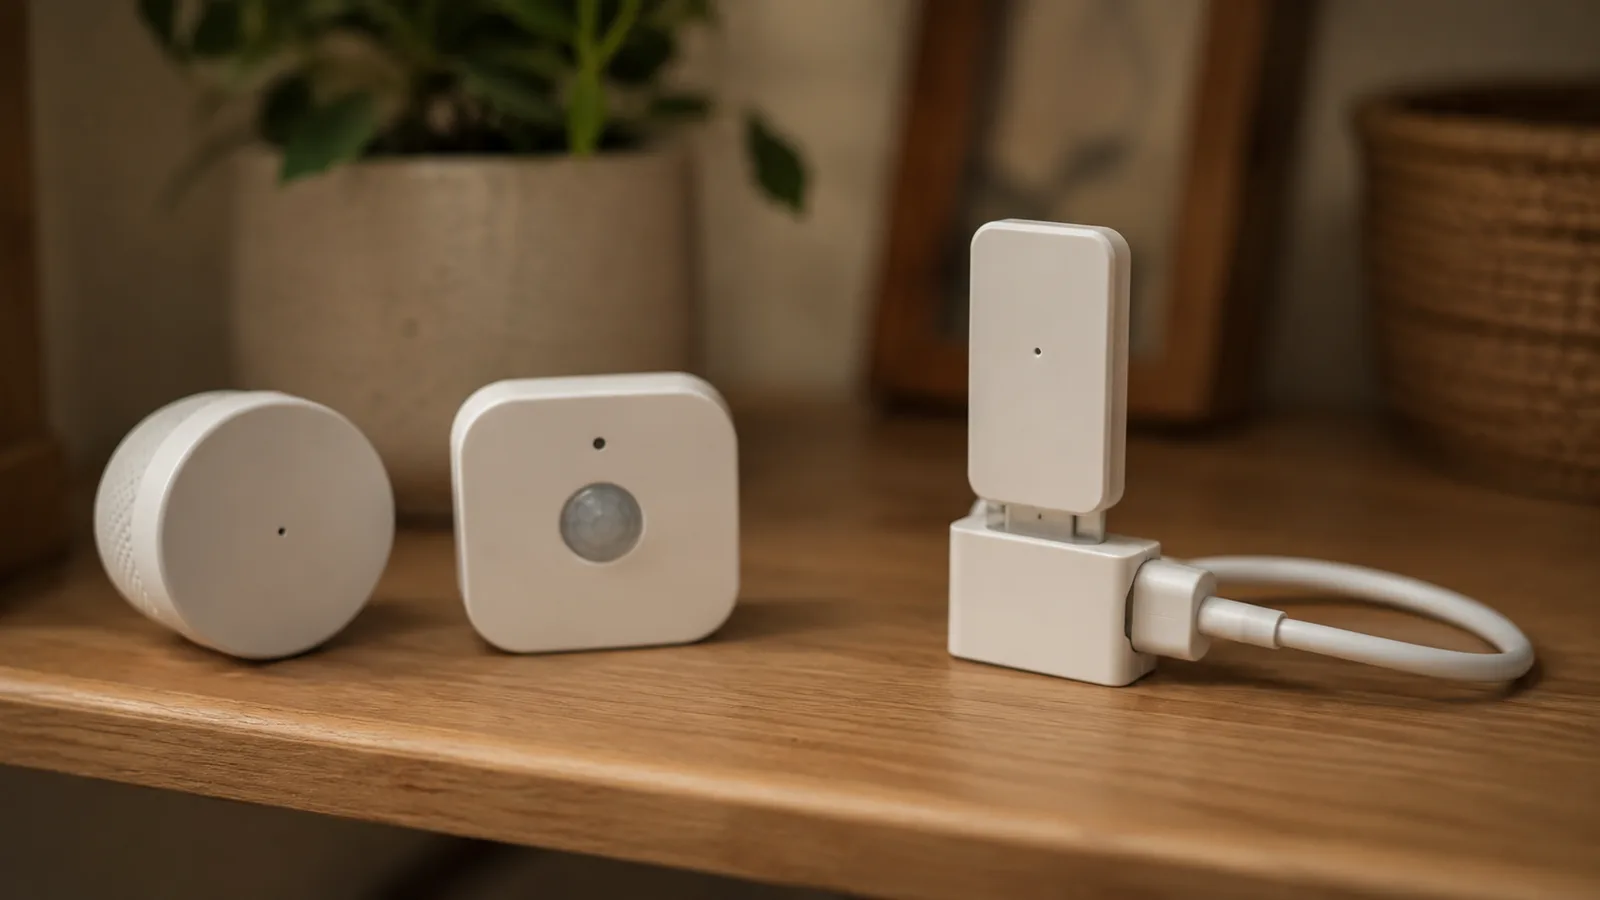
Beyond auto-discovery, you add hardware by category. Settings, then Devices and Services, then Add Integration opens a searchable list of thousands of options. Matter devices join by scanning their setup code. Zigbee devices need a small radio, either a USB stick running the built-in ZHA integration or the Zigbee2MQTT add-on, after which they pair one at a time. Thread devices lean on a border router, which Home Assistant can provide or borrow from an Apple or Google hub already in the house.
The first integration is the one that makes it click. A single light turning on from a dashboard you built, with no brand app in the loop, is the moment most people understand why the setup was worth it. From there, a first automation is a few taps: pick a trigger like a motion sensor, pick an action like a lamp, and Home Assistant writes the rest. A companion mobile app, free on iOS and Android, mirrors that dashboard and can feed your phone's location back into automations, so the system knows when you've left the house.
Do you need the paid subscription?
Home Assistant Cloud is an optional subscription from Nabu Casa that adds secure remote access and voice-assistant links without any networking work on your part. Everything else runs free and local without it, and there's a 31-day trial before it charges anything.
Pay yearly if you're going to pay at all. Nabu Casa lists $6.50 a month or $65 a year in the US, which makes the annual option cheaper than twelve monthly payments by about a month's fee. Pricing is set regionally rather than converted: 7.50 euros a month or 75 a year in the EU with VAT included, £6.50 or £65 in the UK, and CAD 8.70 or 87 in Canada.
What you pay for is convenience. The subscription gives you encrypted access to your dashboard from outside the house, ready-made Amazon Alexa and Google Assistant connections, and the speech engines behind the built-in voice assistant. That same remote access is possible for free with a bit of router configuration, so the fee mostly buys you out of that effort. It also funds development of Home Assistant, ESPHome, and Z-Wave JS, which is the part many subscribers like most.
At $65 a year it's a small line next to what a single proprietary hub subscription often costs over the same period, and it stays genuinely optional. A fully local setup never has to pay it.
A few things that trip up beginners
Three snags account for most first-week frustration, and all three are easy to dodge.
Cheap SD cards top the list. They wear out under constant writes and corrupt without warning, so a small SSD over USB, or the Green's built-in storage, saves a future headache. The homeassistant.local address is the second, since it relies on a discovery protocol some routers block, and the device's plain IP address always works as a fallback. Backups are the third. Home Assistant can make a full backup from Settings, and taking one before every major change turns most disasters into a five-minute restore rather than a lost weekend. One habit worth forming early: Home Assistant ships a new version about once a month, and updating from Settings keeps security patches and device support current. Skim the release notes before a big jump, because the occasional breaking change is flagged there in plain language.
What this post does not cover
- Writing complex automations and custom dashboards beyond your first device
- Detailed Zigbee or Z-Wave network design and antenna placement
- Advanced remote access setups that avoid the cloud subscription
Sources
Frequently asked questions

Written by
Tapabrata Biswas
Tech Researcher
I test AI productivity tools and research home-automation gear the way most people use them. Not in a lab, but on an ordinary desk with an ordinary internet connection. The only test that matters: does it save you time?
Share the Post with Your Besties
Get the plain-English tech brief
One email a week on AI tools and smart-home tech. No jargon, no hype.